Breastfeeding Pain: Latch Fixes, Positions, and When to Get Help

If Breastfeeding Hurts, You’re Not “Bad at This”. You’re Getting a Message.
Let’s say this clearly, gently, and with the authority of someone who has stared at a clock at 3:07 a.m. wondering if nipples can file for workers’ compensation.
Pain is a signal.
Not a rite of passage. Not a “just push through”. Not a motherhood initiation ritual.
A little tenderness in the early days can be common as your body adjusts. But sharp, toe-curling, dread-the-next-feed pain? That’s your body raising its hand and saying, “Hi, we need a tweak”.
This post is your friendly, practical guide to:
- why breastfeeding pain happens (especially painful latch newborn)
- a step-by-step latch checklist you can use right now
- positions that reduce pain and improve transfer
- quick nipple care that actually helps
- red flags (including infection)
- and exactly when to call an IBCLC (International Board Certified Lactation Consultant)
For broader feeding basics and newborn patterns, visit our Feeding Hub
If you want the “Newborn feeding 101” foundation, see How to Survive Newborn Feeding?
If you suspect mechanics issues (like tongue tie), jump to: Tongue Tie Breastfeeding Symptoms
What Breastfeeding Pain Feels Like (and What’s Not “Normal Enough”)
Because sometimes the internet is like: “Some discomfort is normal!” and you’re like, “This feels like my nipple is being stapled”.
Often normal-ish early sensations (usually temporary)
- mild tenderness the first 10–30 seconds of latch that eases as baby settles
- sensitivity that improves day by day
- nipples that look mostly normal after feeds (not pinched or blanched)
Pain that deserves troubleshooting (pain is a signal)
- pain that lasts the whole feed
- cracking, bleeding, scabbing, or blistering
- nipples coming out lipstick-shaped or flattened
- burning pain between feeds
- nipple turning white, purple, or very red after feeding
- pain that’s worsening after the first few days
- dread, tears, or shaking before latching (that’s a big “please get support” sign)
If you’re seeing persistent pain, it’s not a willpower problem. It’s usually a latch, position, or mechanics problem—and those are fixable.
Why Does a Painful Latch Happen?
Here are the most common causes of breastfeeding pain latch issues:
- Shallow latch (the #1 culprit)
Baby is mostly on the nipple instead of taking a big mouthful of breast tissue. Result: pinching, cracking, “glass shard” vibes. - Positioning issues (baby and breast not aligned)
If baby’s body isn’t close and aligned, they compensate with their mouth—hello, pain. - Tension/fast letdown/overactive letdown
Baby may clamp to manage flow, causing soreness and friction. - Tongue tie / oral restrictions / latch mechanics
If baby can’t move their tongue effectively, they may “chew” or compress the nipple instead of drawing it deeply. This is a big reason to read Tongue Tie Breastfeeding Symptoms. - Pump-related trauma
Too-strong suction or incorrect flange size can mimic breastfeeding injury. - Infection or inflammation
These need assessment and targeted treatment.- Mastitis (breast inflammation and systemic symptoms)
- Thrush (sometimes overdiagnosed, but can happen)
- Dermatitis/Eczema on the nipple
The Step-by-Step Latch Checklist (Use This Like a Tiny Script)
This is your “painful latch newborn” troubleshooting checklist. Try it at the next feed. The goal is a deep, comfortable latch where baby takes more areola, not just nipple.
Step 0: Start calm (as much as possible)
- Get comfortable, supported, shoulders down.
- Bring baby to you—don’t hunch toward baby.
- If you’re tense, your whole body (including your letdown) can feel like it’s bracing for impact.
Step 1: Line up baby like a sandwich bite
- Baby’s ear–shoulder–hip in a straight line
- Baby’s tummy facing your body (no head twisting)
- Nose near your nipple (not mouth directly on it)
Step 2: “Nipple to nose” (not nipple to mouth)
Aim your nipple toward baby’s nose, so they have to tip their head slightly back and open wide.
Step 3: Trigger a wide mouth
Gently brush nipple across baby’s upper lip. Wait for:
- a big yawn-like gape
- tongue down
- chin leading
Step 4: Bring baby in fast when mouth is wide
Bring baby to the breast (not breast to baby). Chin touches first.
Step 5: Check the latch “look and feel” cues
It should look like:
- lips flanged out (like fish lips)
- chin pressed into breast
- nose free or just lightly touching
- more areola visible above baby’s top lip than below (often)
It should feel like:
- tugging/pulling, not pinching
- pain that eases quickly (not intensifies)
- rhythmic suck/swallow as milk transfers
Step 6: Watch your nipple shape after unlatching
If nipple comes out:
- lipstick-shaped/creased → shallow latch/compression
- white/blanched → possible vasospasm or compression
- flattened → poor positioning/transfer
Step 7: If it hurts, unlatch and reset (yes, every time)
This is the most important skill nobody tells you: Breaking a bad latch early prevents damage.
To unlatch gently:
- slide a clean finger into the corner of baby’s mouth to break suction
- then relatch using the steps above
Reminder: Pain is a signal. A painful latch is not “good enough”. Resetting is not “being picky”. It’s how you heal.
Positions That Reduce Pain (Choose Your Fighter)
Different positions help for different pain patterns. Try one change at a time.
1) Laid-back breastfeeding (a.k.a “reclined, not wrestling”)
You recline; baby lies tummy-to-tummy on you. Gravity helps baby latch deeply, and you stop doing the “breastfeeding shrimp hunch”.
Best for: Shallow latch, fast letdown, tense feeds, tiny babies.
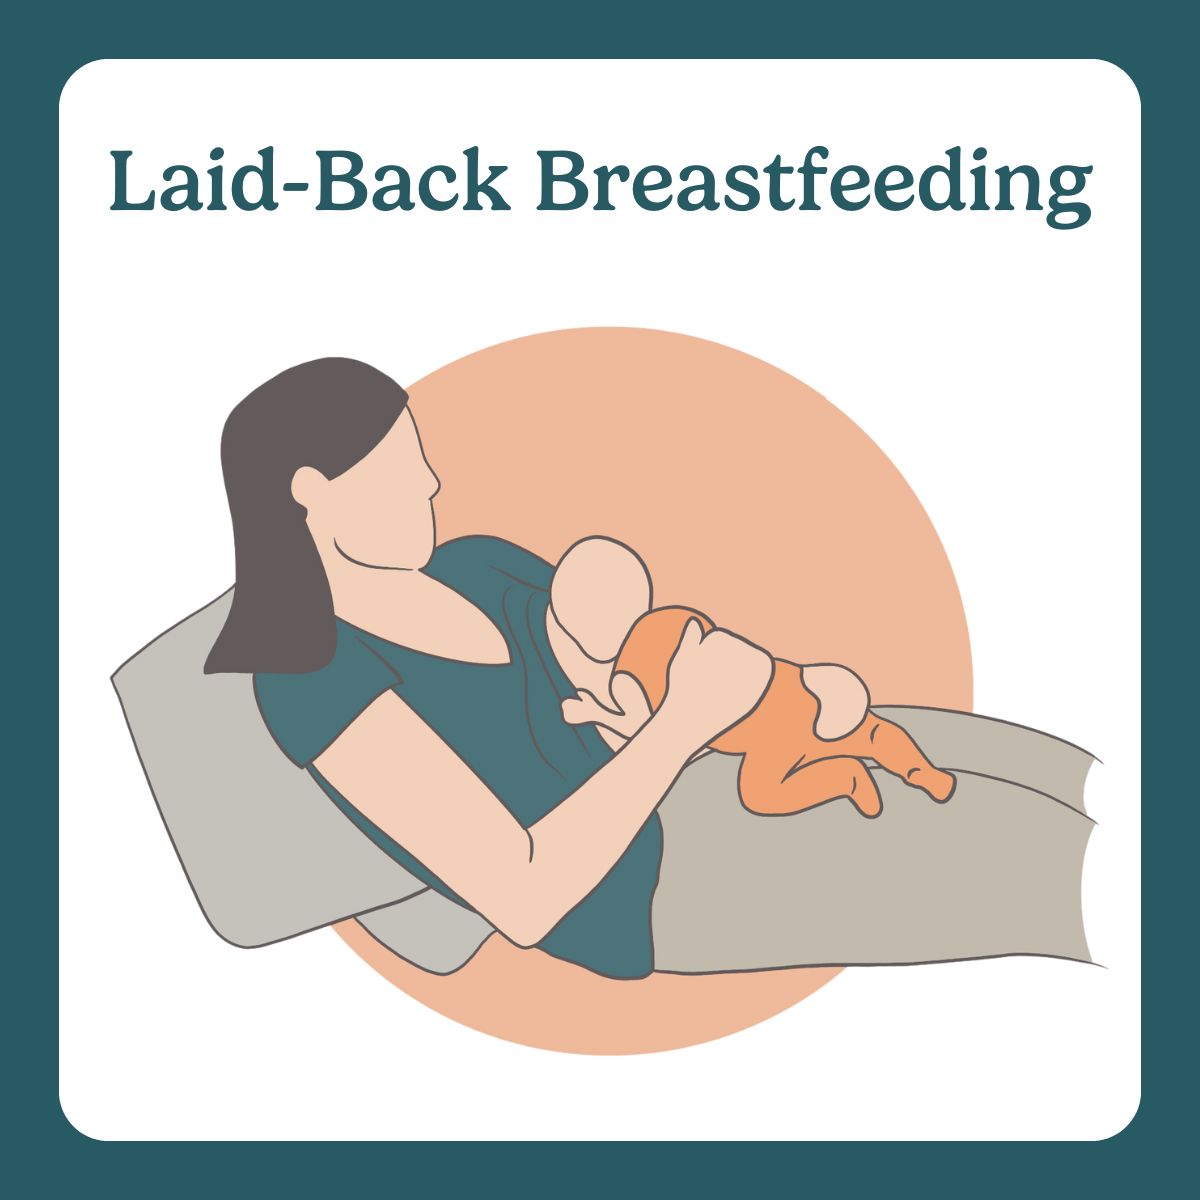
Image from laid-back breastfeeding, part of The Lactation Collection’s Visual Breastfeeding Glossary.
2) Cross-cradle (the “learning position”)
Great for newborns because you control head/neck alignment.
Tip: Support baby’s shoulders/upper back—not the back of the head (that can trigger head-butting away).
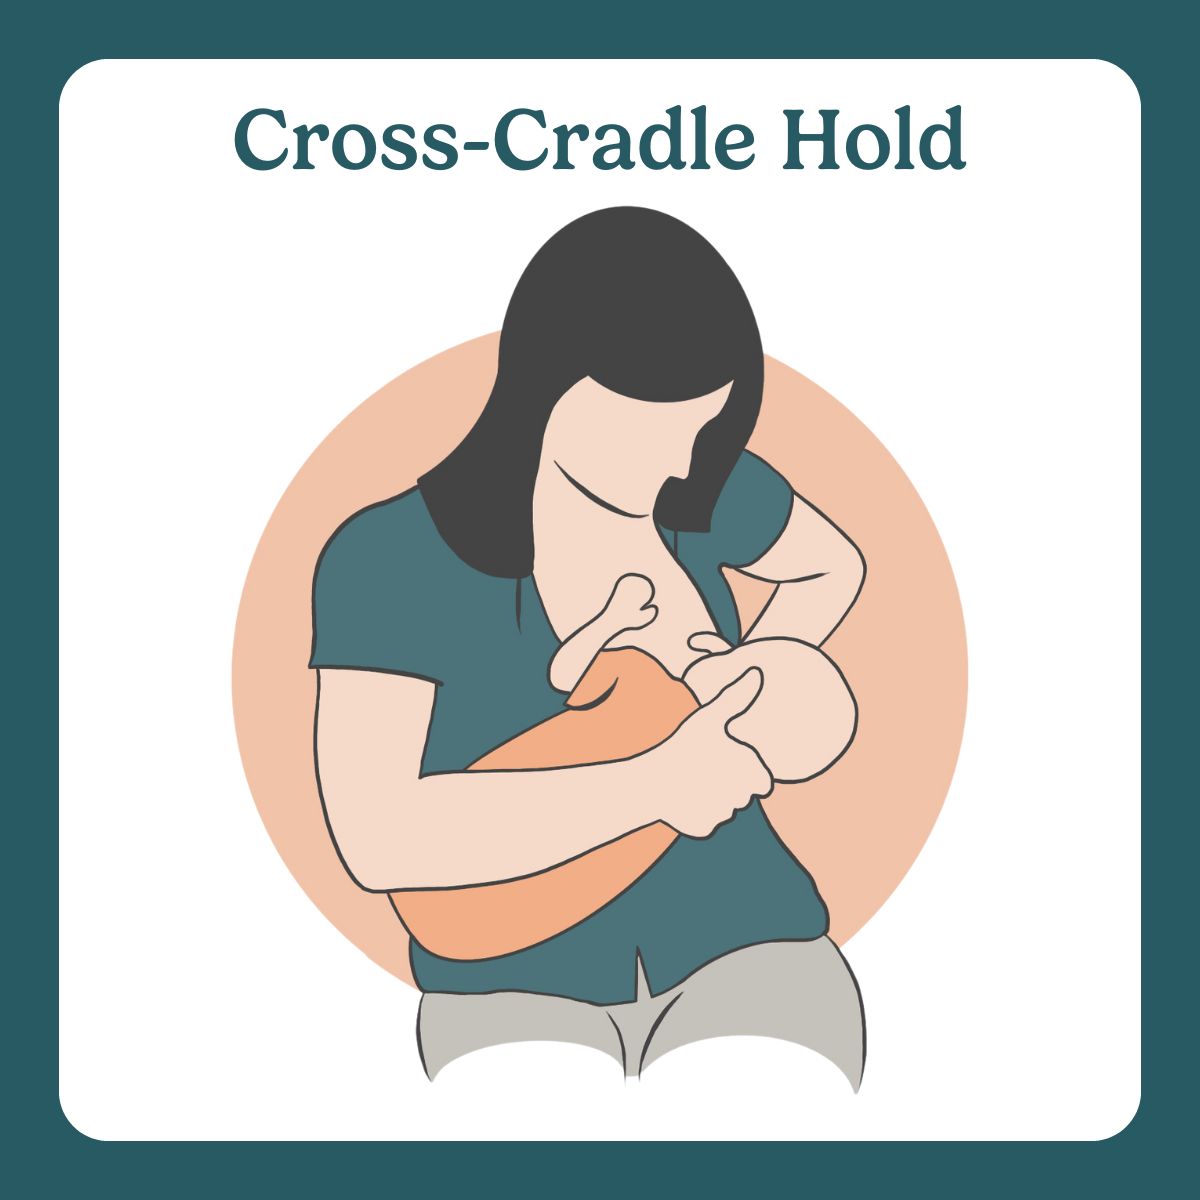
Image from cross-cradle hold, part of The Lactation Collection’s Visual Breastfeeding Glossary.
3) Football hold (the “c-section MVP”)
Baby tucked under your arm on the same side.
Best for: C-section recovery, twins, engorgement, smaller babies, latch control.

Image from football hold, part of The Lactation Collection’s Visual Breastfeeding Glossary.
4) Side-lying (the “I’d like to rest my eyeballs” position)
Excellent for night feeds once you’re comfortable.
Best for: Postpartum fatigue, long cluster feeds, reducing upper-body strain.
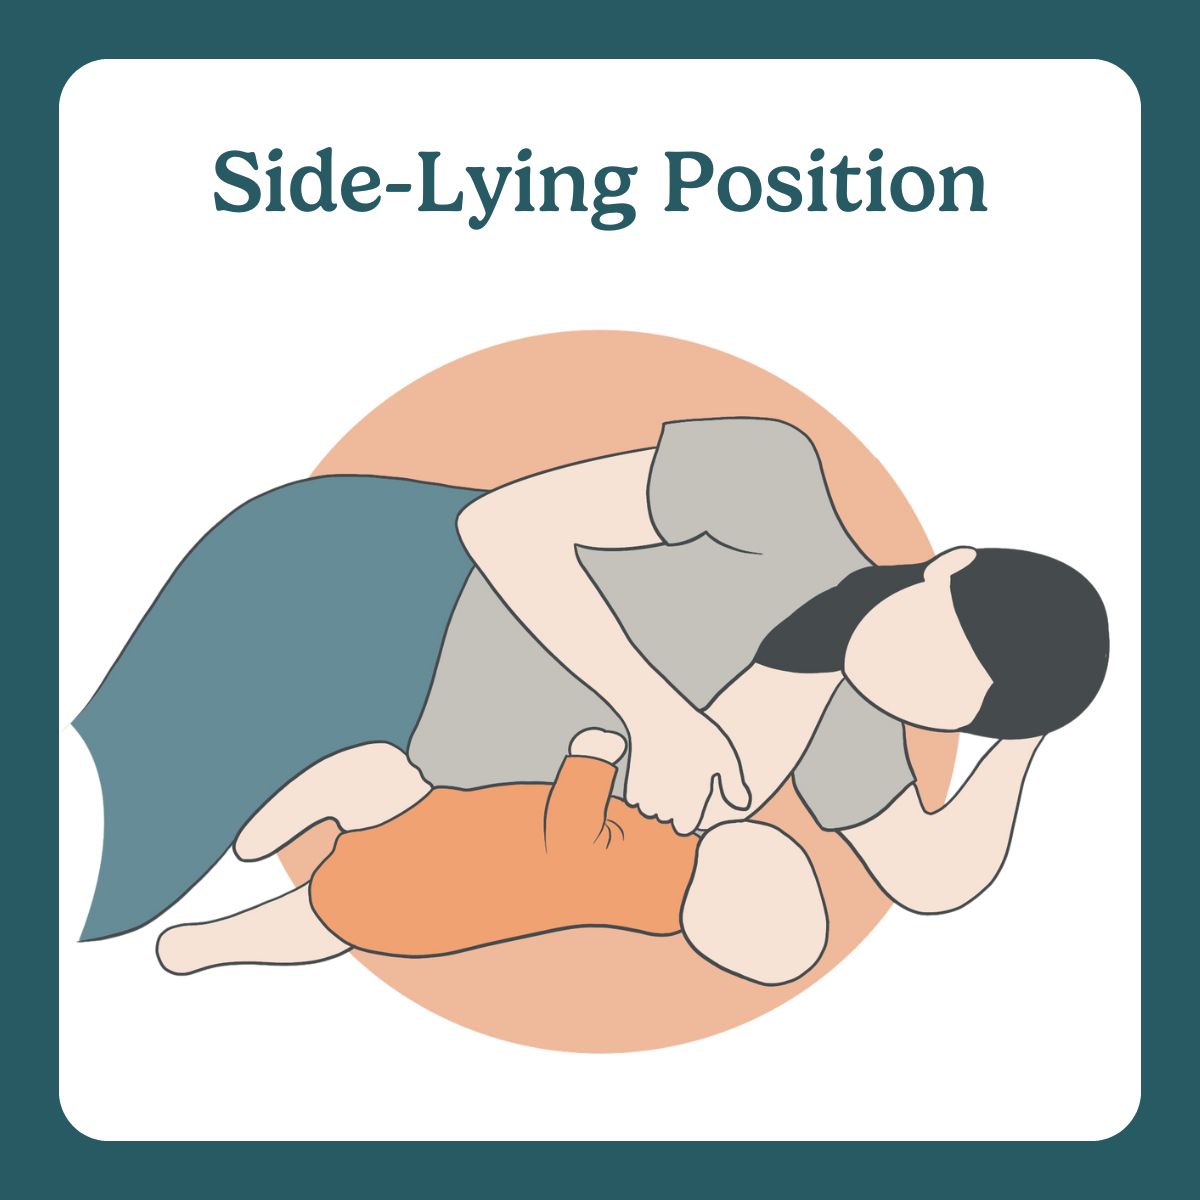
Image from side-lying position, part of The Lactation Collection’s Visual Breastfeeding Glossary.
5) Koala/upright (the “Australian” hold)
Baby straddles you, upright.
Best for: Refluxy babies, strong letdown, babies who hate lying sideways.
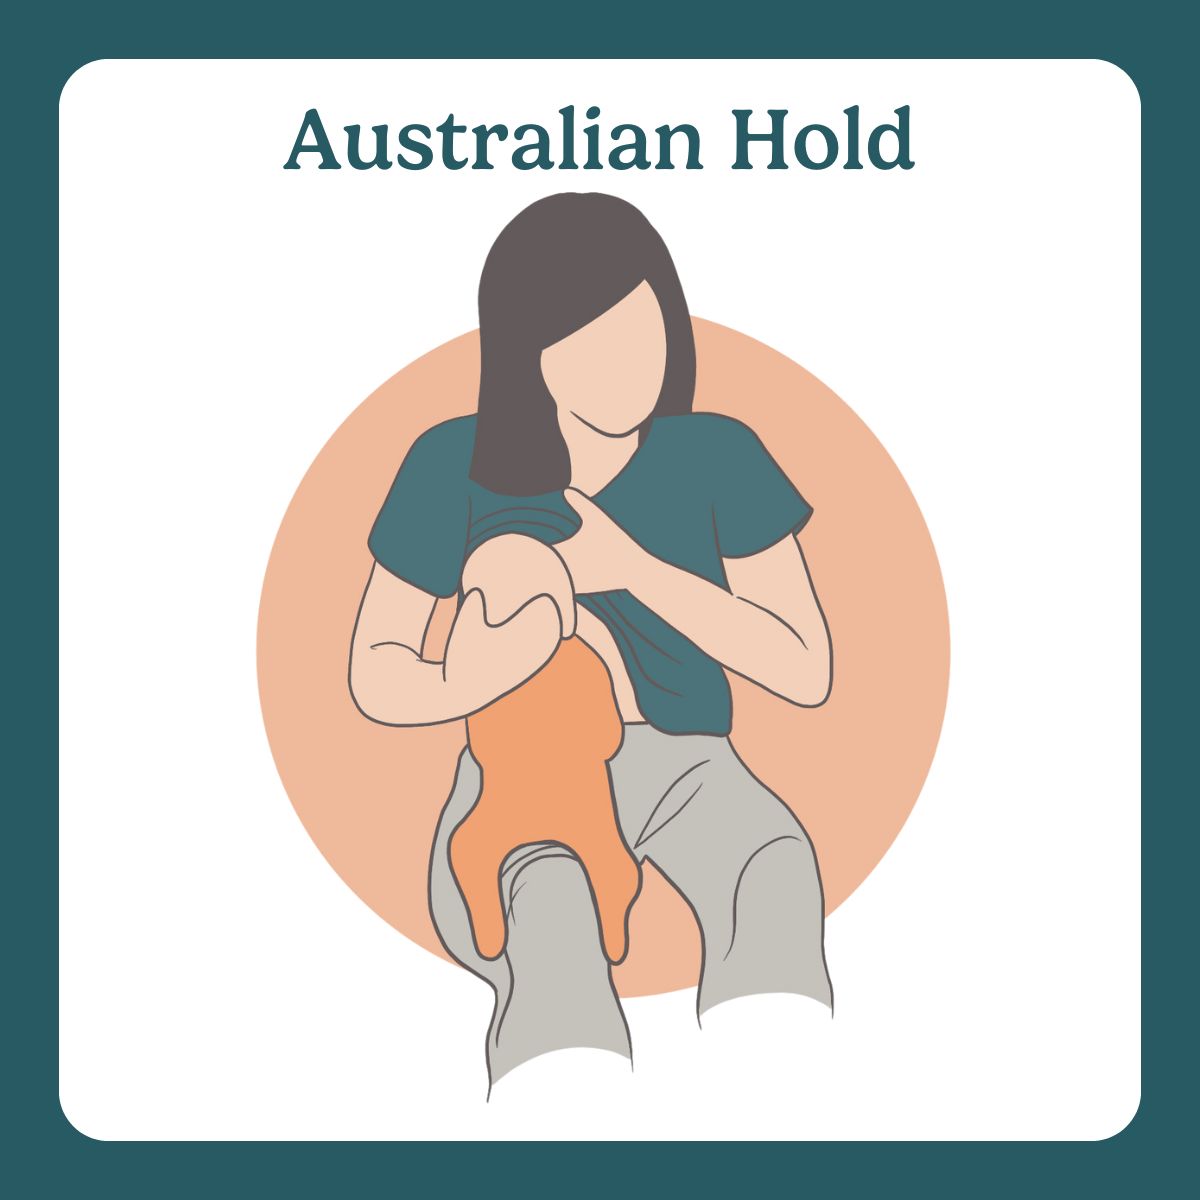
Image from Australian hold, part of The Lactation Collection’s Visual Breastfeeding Glossary.
Quick Fixes for Common Pain Scenarios
If pain is worst at latch-on
- Try nipple to nose and wait for a wider gape
- Use laid-back or cross-cradle
- Hand-express a few drops first to trigger letdown (baby may latch less aggressively)
If nipples are cracked/bleeding
- Prioritize latch correction first (cream alone won’t fix a bad latch)
- Use purified lanolin or hydrogel pads if they help you
- Air-dry after feeds
- Consider brief pumping/hand expression for one side if too painful—while you get latch help
If baby “chomps” or slips off
- Check alignment (tummy-to-tummy, ear-shoulder-hip)
- Try football hold for better control
- Consider oral mechanics evaluation: Tongue Tie Breastfeeding Symptoms
If you have burning pain between feeds
- Could be vasospasm/compression, dermatitis, or infection—needs assessment
- Keep nipples warm after feeds if you notice blanching
- Seek IBCLC/clinician support if persistent
If engorgement makes latching painful
- Soften the areola before latching (hand express or gentle reverse pressure softening)
- Cold packs after feeds, warmth briefly before
- Frequent feeds; avoid long gaps
Nipple Care That Actually Helps (While You Fix the Cause)
Think of nipple care as symptom relief, not the main treatment. Helpful options:
- expressed breastmilk dabbed on nipples (simple and free)
- lanolin (if you tolerate it)
- hydrogel pads (many people find immediate relief)
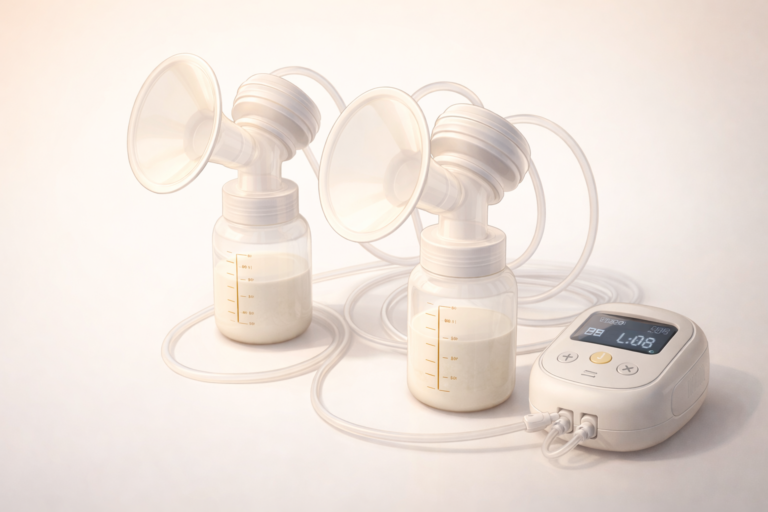
- properly fitted pumping equipment if pumping is involved
Avoid:
- harsh soaps on nipples
- aggressively scrubbing (your nipples are not cast iron pans)
- suffering in silence
When to Call an IBCLC (and Why Sooner Is Better)
An IBCLC is the gold-standard lactation professional—especially for pain and mechanics. Call an IBCLC if:
- pain is severe, worsening, or lasting beyond early latch-on
- nipples are cracked/bleeding and not improving quickly
- baby seems frustrated at breast, slips off often, or feeds take forever
- you hear clicking, see poor milk transfer signs, or baby isn’t gaining well
- you suspect tongue tie, lip tie, or other mechanics issues: Tongue Tie Breastfeeding Symptoms
- you’re feeling anxious or dreading feeds (this matters)
Rule of thumb: If you’re thinking, “Should I call?” the answer is usually yes. You’re not overreacting—you’re protecting your feeding journey and your mental health.
Red Flags: When to Contact Your Healthcare Provider Promptly
Get medical advice if you have:
- fever, chills, flu-like symptoms and breast pain (possible mastitis)
- a hard, painful area that’s not improving
- rapidly worsening redness or swelling
- nipple wounds that look infected (pus, increasing redness, severe pain)
- baby not producing enough wet diapers or seems very lethargic
- weight gain concerns (see “Is My Baby Eating Enough?”)
Tongue Tie and Mechanics
Sometimes you can do everything “right” and still have pain because baby’s mouth mechanics make a deep latch hard. Possible signs (not a diagnosis):
- persistent nipple damage despite good positioning
- clicking sounds during feeds
- baby slipping off repeatedly
- long feeds with poor satisfaction
- poor weight gain or low transfer
- nipple comes out creased/lipstick-shaped often
For the full tongue tie/mechanics breakdown, read Tongue Tie Breastfeeding Symptoms.
A Tiny “What To Do Next Feed” Plan
If you want a simple plan for your next session:
- Get supported (pillows, feet up).
- Do nipple to nose.
- Wait for the wide gape.
- Chin first, bring baby in quickly.
- If it hurts after the first moments, unlatch and relatch.
- Note nipple shape after.
- If pain persists after 24–48 hours of focused latch work, visit an IBCLC.
FAQs
Is breastfeeding supposed to hurt at first?
Some tenderness can be common early on, but sharp or ongoing pain is not something you have to “push through”. Pain is a signal to adjust latch/position or get support.
What does a good latch feel like?
You may feel tugging and pulling, but not pinching or burning. Pain should not persist through the feed, and nipples shouldn’t come out creased or flattened.
Why are my nipples sore while breastfeeding?
Most commonly: shallow latch or positioning. Other causes include engorgement, fast letdown, pumping trauma, dermatitis, or oral mechanics issues like tongue tie.
What if my newborn has a painful latch every time?
Use the latch checklist and try a new position (laid-back or football hold are great). If pain persists, call an IBCLC—early support prevents ongoing damage.
How do I know if it’s tongue tie?
You can’t confirm at home, but signs like persistent pain, clicking, slipping, and nipple compression can warrant an oral mechanics evaluation. See Tongue Tie Breastfeeding Symptoms.
When should I call an IBCLC?
If pain is severe, you have nipple damage, feeds are consistently stressful, or you suspect mechanics issues. If you’re thinking about it, call.
Related Reads
If you’re new to newborn feeding basics and patterns, start with How to Survive Newborn Feeding?
For more feeding support posts and checklists, visit the Feeding Hub
If you suspect tongue tie or latch mechanics issues, read Tongue Tie Breastfeeding Symptoms